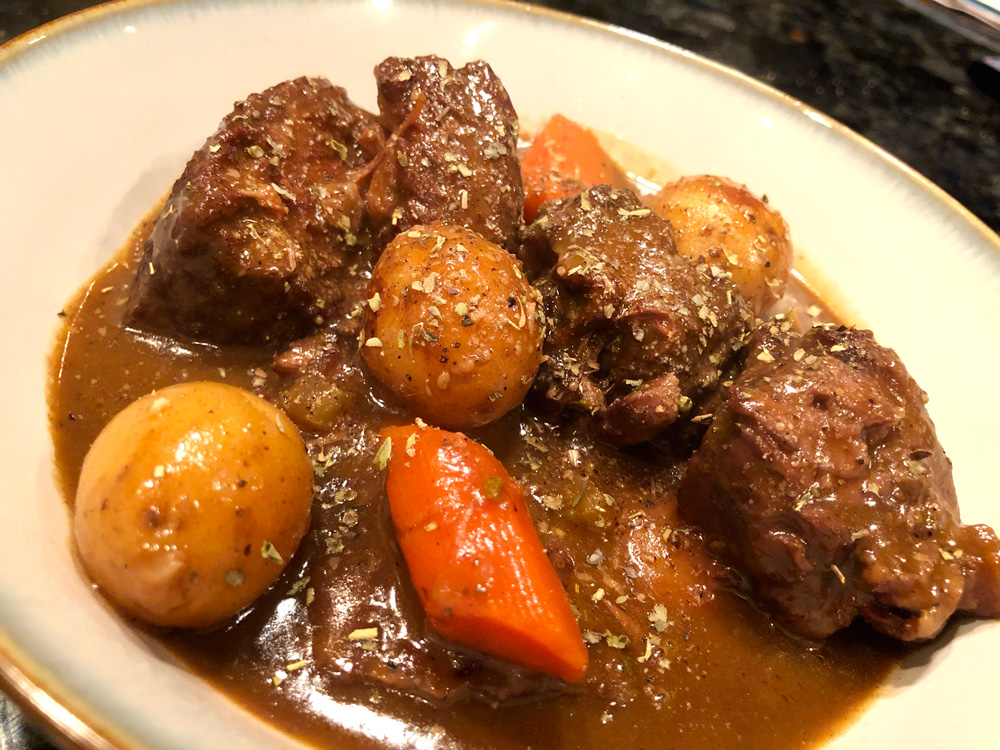
If you are looking for the ultimate comfort food nothing beats good pot roast. I’ve tried many recipes over the years but always came back to my own version of the culinary favorite. Someone recently asked me to blog my recipe over on Twitter and it occurred to me that I’ve actually been winging it for years so it was probably a good time to get it written down.
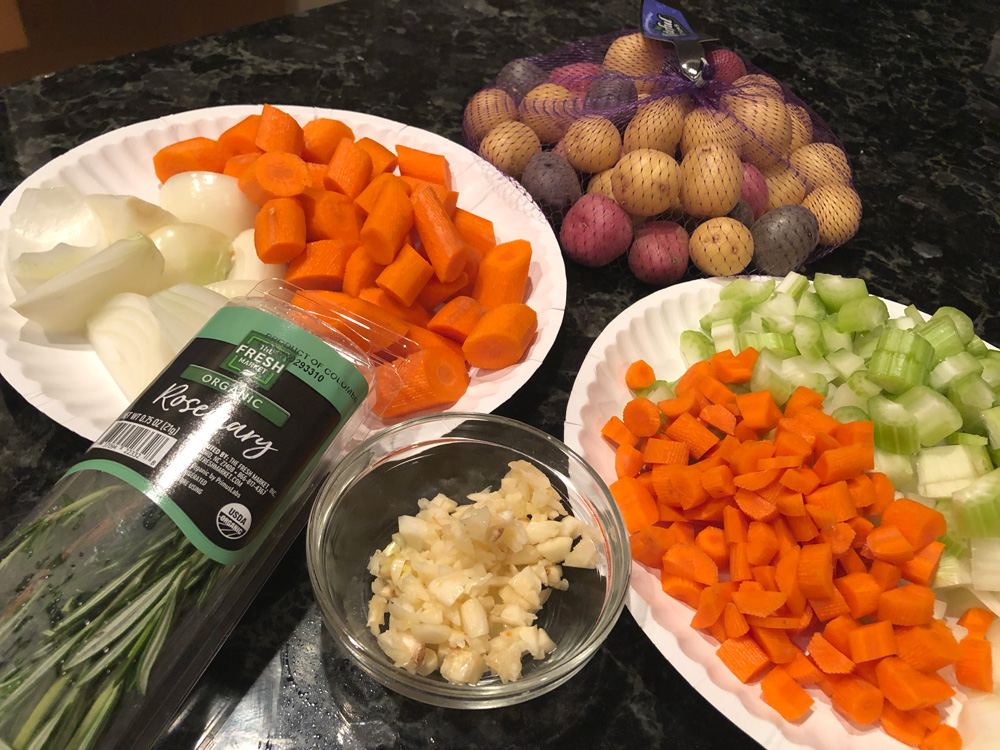
If there’s a secret to this recipe it lies in the two sets of veggies (one diced for flavor and the other sliced for eating) that gives the pot roast its depth of flavor. There’s an extra step or two compared to most recipes but trust me, it’s worth it.
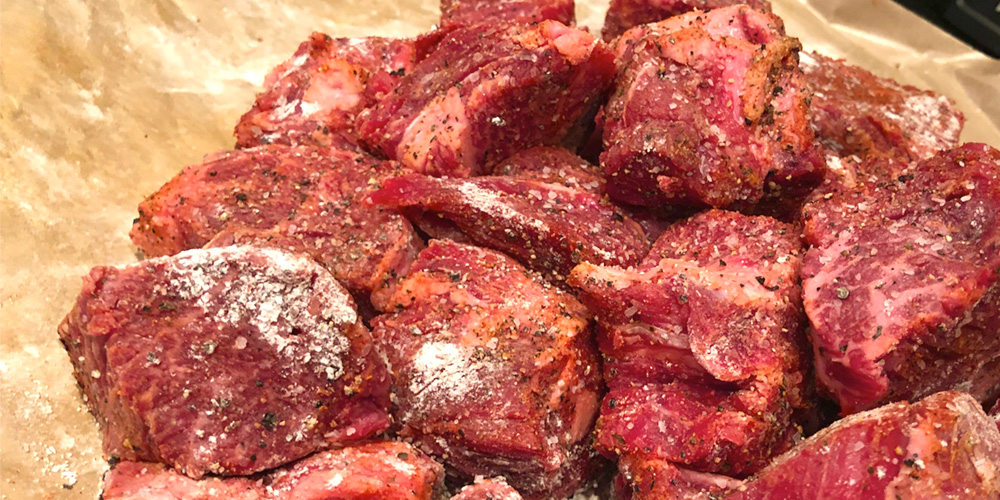
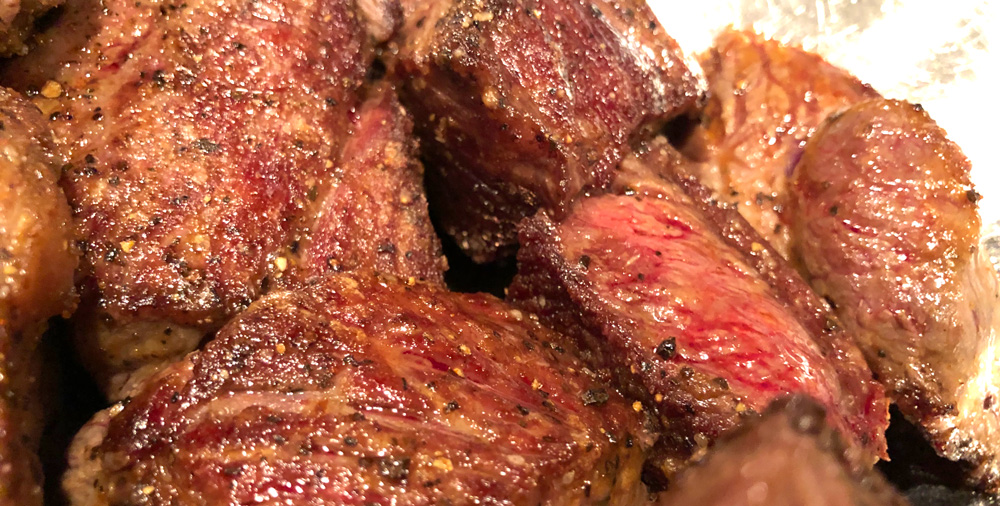
Also, by cubing the meat instead of leaving it whole, you get more surface area which means more browning which means more flavor! It also has the added benefit of cooking quite a bit quicker than most traditional pot roasts.
If you give it a go please drop me a line and let me know how it turned out. I’d love to get your opinion. Enjoy!
•••
HARDWARE:
Large bowl + tongs
Large dutch oven or high-sided oven-safe pot
Blender
INGREDIENTS:
1 (3-5lbs) Chuck Roast (cut into 2” cubes)
2-4 Tablespoons of Olive Oil
2 whole onions (1 diced, 1 frenched)
3 celery stalks (diced)
6 carrots (3 diced & 3 sliced into bit-sized pieces)
3/4lb of fingerling potatoes (or parsnips peeled & sliced into bite-size chunks)
8 cloves of garlic (finely chopped)
2 cups of red wine
3-4 cups of beef or chicken broth
3 sprigs of fresh thyme
3 sprigs of fresh rosemary
1/4 cup all purpose flour
2 Tablespoons of corn starch
2-3 Tablespoons of smoked (or regular paprika)
3 Tablespoons of of tomato paste
3 Tablespoons of Worcester Sauce
3 Tablespoons of balsamic vinegar
Salt & pepper to taste
DIRECTIONS:
Set oven to 325º
Slice chuck roast into 2” cubes and season them completely all over with salt, pepper and a sprinkling of paprika and flour. Coat well.
In a high-sided dutch oven or heavy oven-safe pot heat on pot with olive oil on stove top until shimmering. Working in batches, brown cubes of the meat on each side with your tongs until nice and brown. Don’t crowd the pan, turn them as needed getting each side nice and crusty. Remove browned pieces to a bowl. Continue until all meat is browned.
Combined diced carrots, celery and onions in pot and stir with pot meat drippings to loosen. Cook about 3 minutes or until the veggies soften. Add diced garlic and stir another minute or until garlic is aromatic.
Add tomato paste to the pot and mix in with the veggies. Add red wine and deglaze the pan – cook for another 1-2 minutes until wine mixture starts to simmer.
Return meat to pot on top of the veggie mix and add enough chicken or beef broth to barely cover. Reserve 2-4 tablespoons of broth for thickening later on.
Tie the rosemary and thyme sprigs into a bundle with butchers or kitchen string and add to the pot along with Worcester sauce & balsamic vinegar.
Bring to a simmer.
Put the lid on the pot and place in the oven. Cook at 325 for 1.5 hours.
Remove from oven and place meat cubes in a bowl. Discard the bundle of herbs.
If there are pools of fat on the surface of the liquid use a label and spoon off as much as you can or transfer the liquid to a de-fatter and discard the grease.
Transfer the remaining liquid plus cooked, diced veggies to a blender and blend well. Return the mixture to the pot along with the meat once again. Add sliced carrots, fingerling potatoes (or parsnips) and frenched onions to the pot and mix in well.
Return to the oven and cook for another 1 – 1.25 hrs or until meat is fork tender. Remove any grease on the top of the liquid once again with a ladle.
Move the pot to stove top and heat over med-low heat.
Mix the corn starch with the remaining chicken or beef broth (2-4 tablespoons) until throughly combined and then add to the stew. Bring to simmer to thicken.
Add salt, pepper & additional Worchester sauce to taste.
Serve with some crusty bread or with creamy polenta or whatever you want 🙂
YUMMIE!
